To activate a newly created notification rule, you must first configure the options in the rule's edit pane.
Click a rule from the notifications list to open the edit pane for that rule.
If a gray [
 ] icon is displayed to the right of a notification rule, this indicates that it is not yet activated.
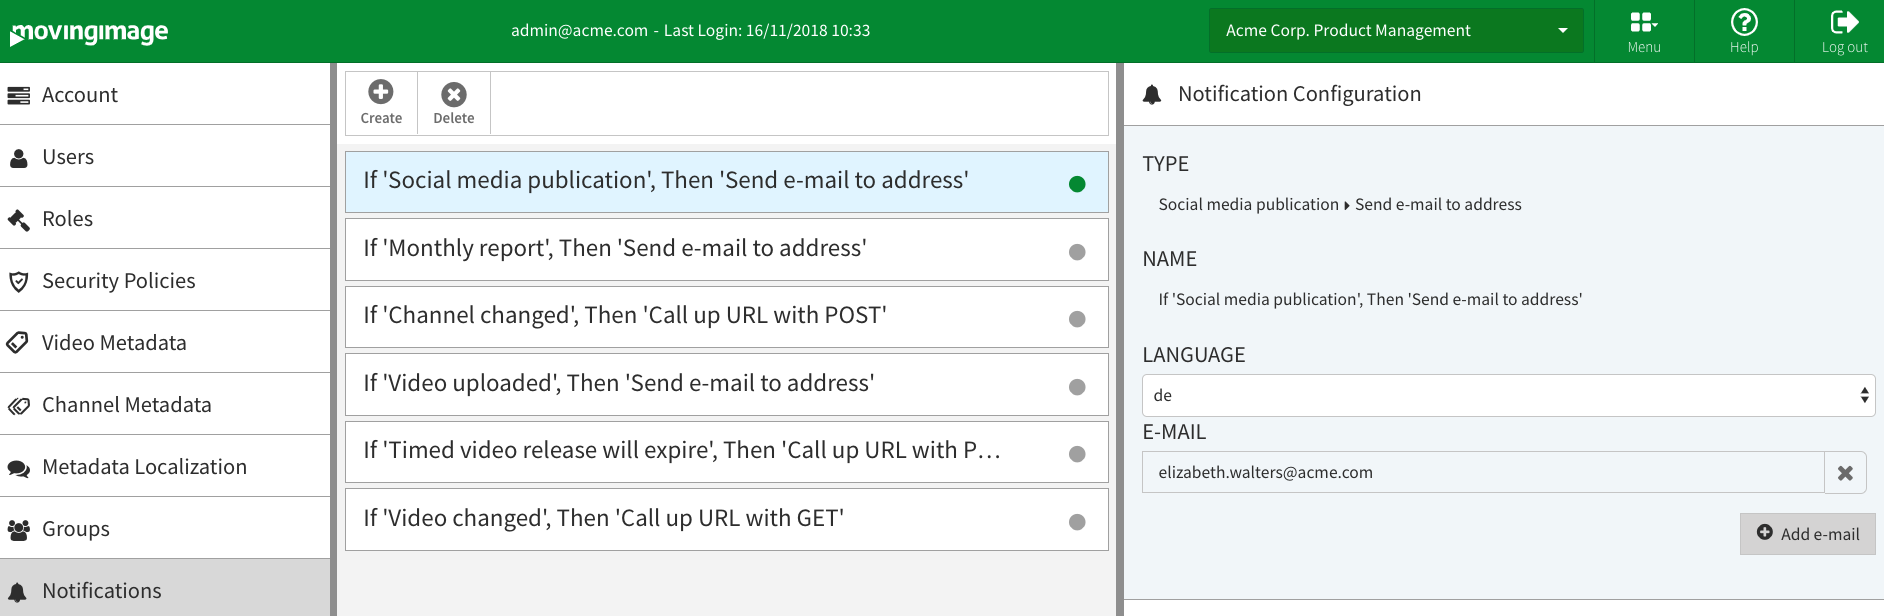
Enter the following configurations:
Parameter Description Type The notification type is automatically entered by the system and cannot not be edited. It consists of the selected event and the action. Name Optional. Enter the desired name for the notification rule in the text box provided for this purpose. Notification time This field will appear if "Timed video release will expire" is the selected event type. Use this field to enter the desired time for the notification (in days before the occurrence of the event). By default, the value is set to 14 days. Email This field will appear if "Send email to address" is the selected action type. Use this field to specify a valid e-mail address to send this notification to.
It is possible to set up multiple email addresses to receive the notification. The [Add email] button will appear after activating the notification (see step 3 below). Click the button to create another text field, allowing you to enter more e-mail addresses.
Include User Information This field will appear if the "Call up URL with POST" action is selected. You can switch the "User Email" toggle on to include the user's email address in the POST data (under the "editorEmail" key). When the toggle is off, an empty string will be sent in the POST data instead. The default state is off.
In some cases, even when the "User Email" toggle is on, the "editorEmail" value will still be an empty string. This happens when event types that aren't initiated by a user trigger the action (i.e. the monthly report and timed video release will expire events).
URL This field will appear if one of the "Call up URL..." actions is the selected. Use this field to specify the URL to call up when the selected event occurs.
It is possible to set up multiple URLs. The [Add URL] button will appear after activating the notification (see step 3 below). Click the button to create another text field, allowing you to enter an additional URL.
- Finally, click the [Activate] button to enable the notification rule.