First, set the roles with appropriate privileges. Next, user accounts can be created and assigned to these roles.
- Highlight the entry "Roles" in the navigation. Should roles are already set, they appear in the list of all roles.
- If you want to edit one of the existing roles, select the corresponding entry and then edit it as desired in the editing field.
- To create a new role, click on the [Create]-button.
- Enter the role name in the text box provided and then click on the button [Create]. The corresponding role is created and appears in the list of roles.
- Now, mark the new entry in the list of roles.
- Make the following settings in the right pane:
- role name
- role description
- role rights: activate rights to be assigned to this role.
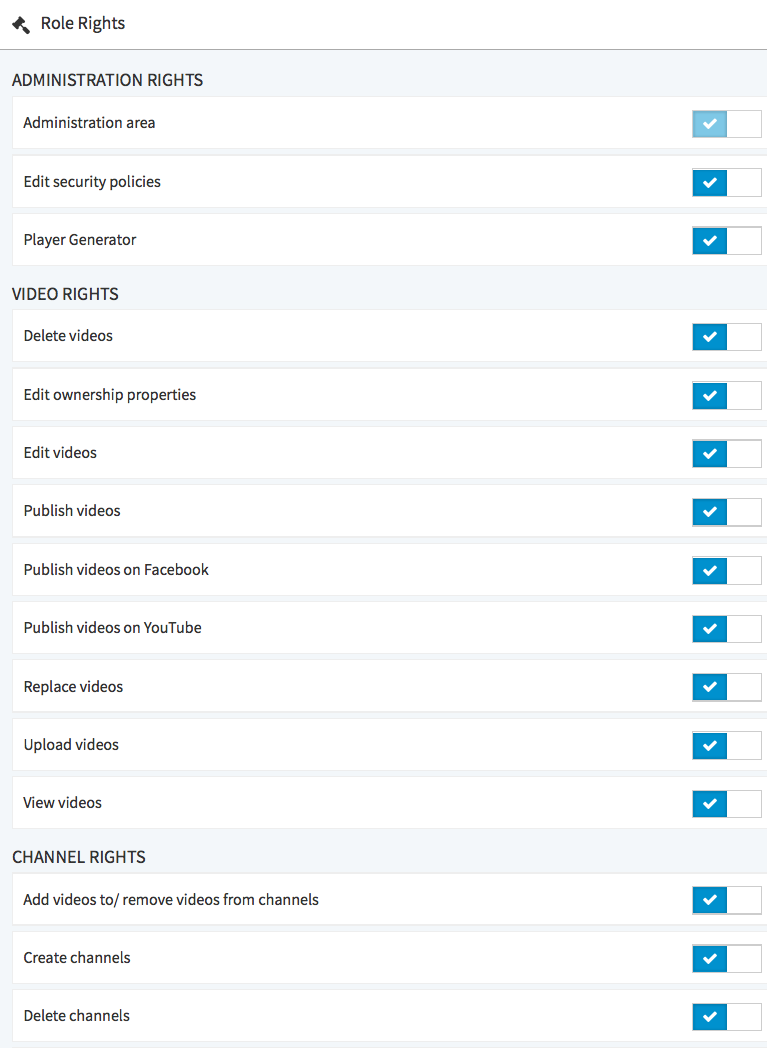
By default, no rights are assigned to a newly created role.