Numerous upload options are available for uploading a video to your account. Smaller videos (up to approximately 1 GB) can be uploaded very easily through the web browser. For larger videos, or to upload multiple videos at once, we recommend the use of the FTP server (see also the FTP Upload chapter).
Important information about video settings can be found here: Recommended Video Settings.
If the upload process is interrupted (i.e. if the browser has been closed or your WLAN connection is interrupted), you don't need to upload the entire video again. The upload process continues at exactly the point where the upload was interrupted. Here, the system automatically detects whether the selected file corresponds to the file that was originally selected. More information can be found in this article.
Follow the described steps to upload a video from your local drive:
- Click on the [
 Upload] button in the video toolbar. The file display window opens, where you can select a video file.
 Select the desired video file from your local directory, and then click on the [Open] button. The upload process is started. The progress bar allows you to monitor the transfer.

You can see the transcoding progress based on the corresponding progress bar in the "Video Formats" accordion menu.
- Alternatively, you can add a video file via drag & drop. To do this, select the desired file in your local directory and drag it while holding the left mouse button in the video list. The upload process starts when you release the mouse button.
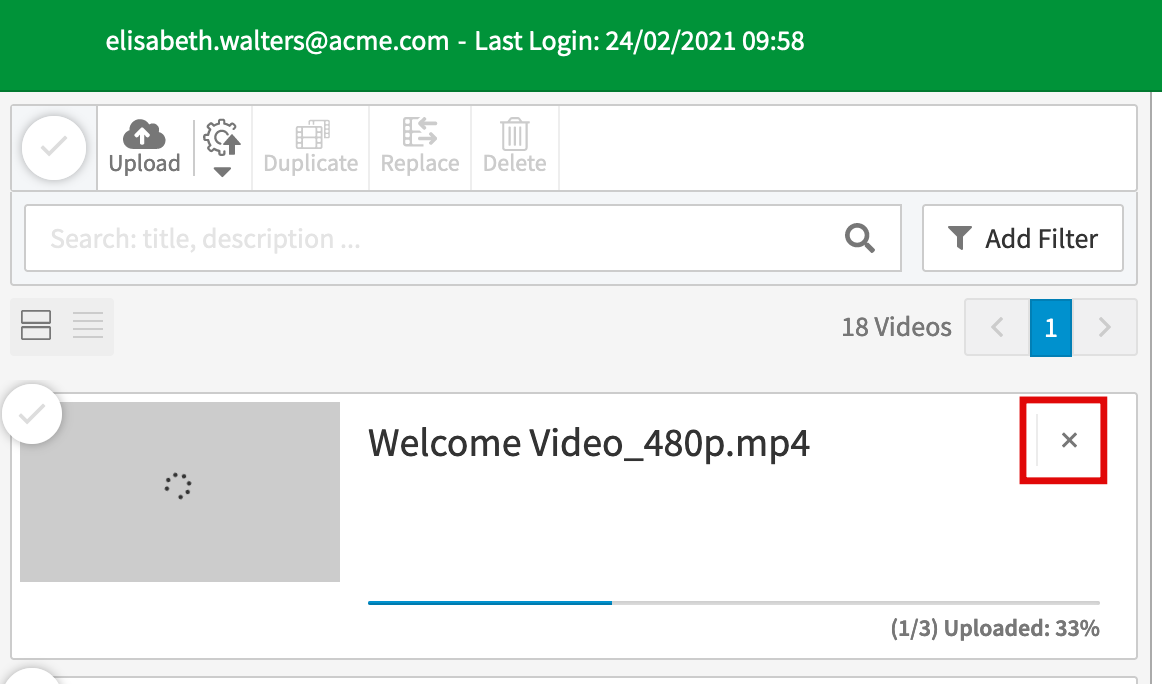
- If you want to cancel an upload that has already started, click the [X] button at the top of the video box. The upload will be canceled.