In a live event recording, the operator controls the timing of slide appearances, allowing viewers to see corresponding slides alongside the speaker's video.
Each new slide generates cue points referencing video timestamps, which can be used to load the appropriate slides from a database.
Later, during post-live or on-demand webcasts, the timestamps can be edited within the Markers tab.
Editing Markers
- Ensure that the webcast is in the post-live or on-demand state. To open the editing area for a desired webcast, click on its entry in the list.
- Go the "Markers" tab.
- The list of all markers is displayed.

If you want to edit a generated marker, click on one to modify its timestamp, slide, and/or add a chapter (details in step #6 below).
You can also group markers and edit several timestamps at the same time. This can make sense if you trimmed or edited the final video, and need to align the markers with the new timings.
Clicking the Earlier or Later button to increase or decrease the timestamp of each selected marker by the value in the Seconds input field.- If you want to create new additional markers, click the [Create] button and a new marker edit view will appear.
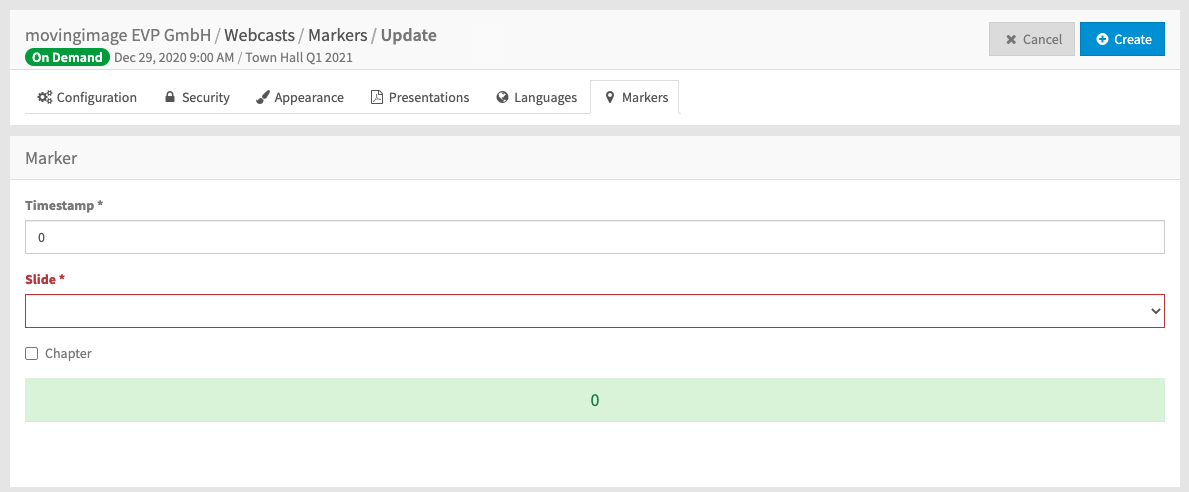
- Enter the following data for the new marker:
- Timestamp: Time in the stream when the slide should appear (in the format hh:mm:ss)
Slide: Select the required slide from your presentation in the drop-down menu.
The list will show all slides in the primary language set. Other language sets will use the same timestamps for the corresponding slides in that language.
- Chapter: Optionally, enable the check box if you want to create a chapter at this point. The user can then jump to the chapter while playing the video.
- Chapter title: When you create a chapter, a title must be entered. If you have multiple language sets, you will be able to enter a separate title for each language.
- Timestamp: Time in the stream when the slide should appear (in the format hh:mm:ss)
- Finally, click [Save]. The marker is created and appears in the list of all markers.
- To delete a marker, click the button [Delete] in the context menu of the respective marker entry.

Regenerating the original Markers
If you decide to clear all edits to the set of Markers, you can click the button, [Generate markers]. This will reset the list of Markers to its original state.
This action cannot be undone. Be sure that you want to reset the list!
