The Quick Create feature streamlines the process of creating a new webcast. By first defining a few default settings, you can use the Quick Create button to create a new webcast in just a couple of clicks.
To enable the Quick Create button, you first need to set defaults in the Theme, VideoManager, Pre-live Video, Upload Channel and Streaming Server sections (see the "Setting up a Webcast" chapter for more information).
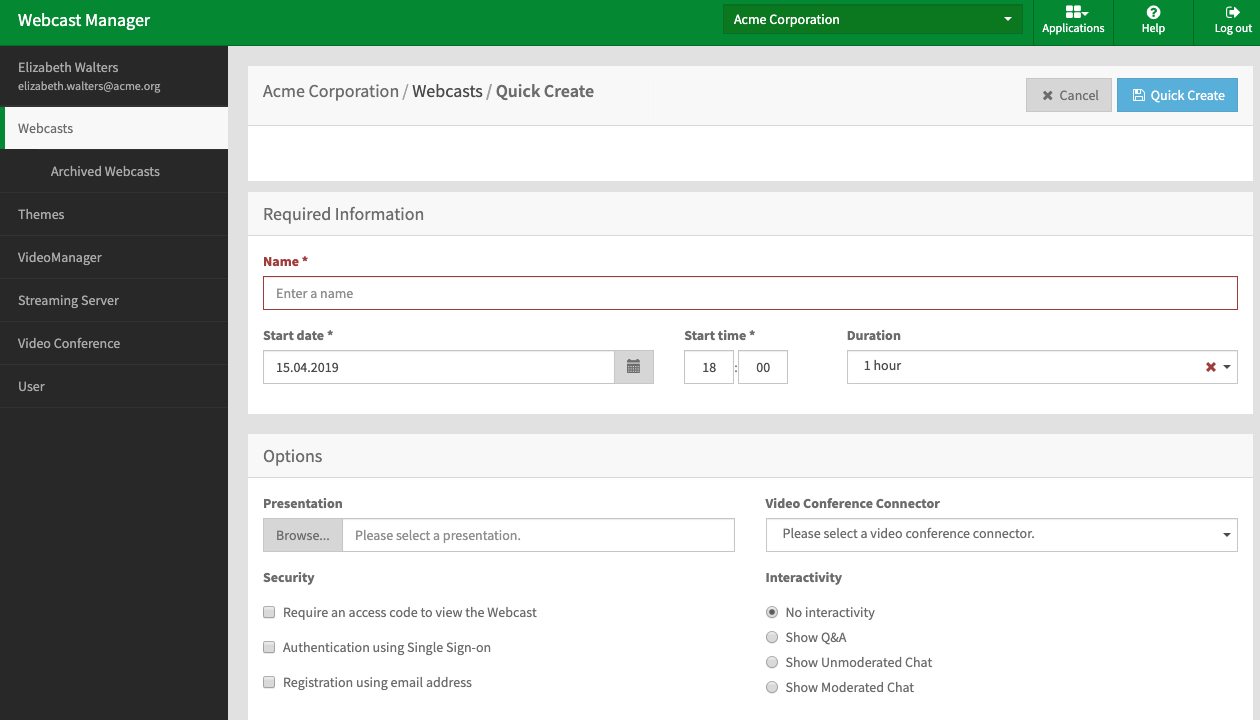
Once defaults have been set, you will see the blue Quick Create button next to the Create button in the list of webcasts. Click it to be brought to the Quick Create form.
From here:
- Enter a name for your webcast, then select a start date and time and duration.
- Choose a set of presentation slides to add (if desired) and a video conference connector to use (if available). You can also set different security settings or enable or disable comments for the webcast.
- When satisfied, click the Quick Create button again.
Now your webcast will be created, and you will be shown the summary page, which includes all information needed to operate the newly created webcast. If you selected presentation slides to be included, you may have to wait a few seconds while the slides process.
Click the [ ![]() ] button to export the webcast information as an .ics file for use with any compatible calendar application.
] button to export the webcast information as an .ics file for use with any compatible calendar application.

After creating the webcast via Quick Create, you can click the Edit Details button to go back and change details about the webcast as normal.