Creating a user via SSO
Users created via SSO are handled at the Customer level. See the Single-Sign On Authentication chapter.
Creating a user via WebcastManager
To create a new user, perform the following steps:
- In the navigation panel, click the "User" entry. In the editing area, you will see a list of all previously created users.
- Click the [Create] button to open a form.
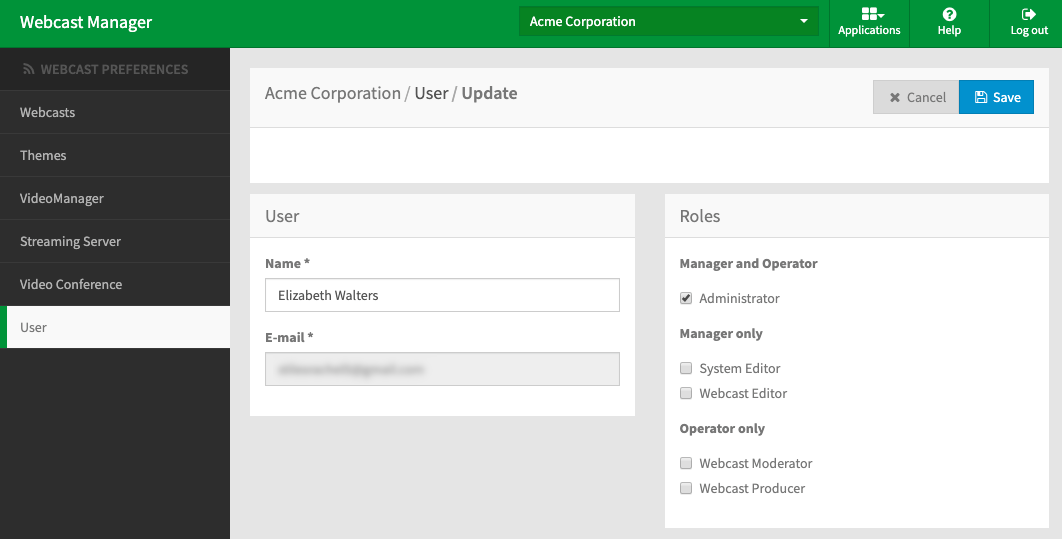
Enter the following information about the user:
Fields marked with "*" are required information.
- Name
- You can also set a Role for the user, which controls what parts of WebcastManager and WebcastOperator they have access to.
Click the [Save] button to save your entries. The newly created user will appear immediately in the list of all users.
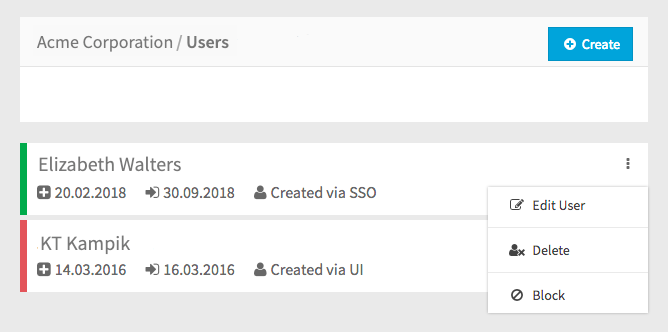
After being created, you can view details about each user in the list. Information for each user includes date created, last sign-in to WebcastManager or WebcastOperator and creation method. Clicking the triple-dot icon for a user will bring up options for handling that user account:
- Update: Make changes to the user
- Delete: Delete this user entirely from your webcast.
- Block: If a user was created via SSO, you can also choose to block them from accessing your webcast.
Each user also will have a colored border that indicates the status of each user account:
Red: Blocked
- Green: Active